How to install beeSIM eSIM on Android devices?
Follow our step-by-step guide to easily install your eSIM on Android devices.
Overview
This guide shows you how to install your eSIM on an Android device using a QR code - a quick and reliable method.
Before you start, make sure your phone supports eSIM, isn't locked to a specific network, and is connected to the internet via Wi-Fi or mobile data.
Steps
Step 1. Scan the QR code
There are two ways to scan your QR code:
- Option 1: Open your Camera app → Scan the QR code → Tap “Add plan to phone”.
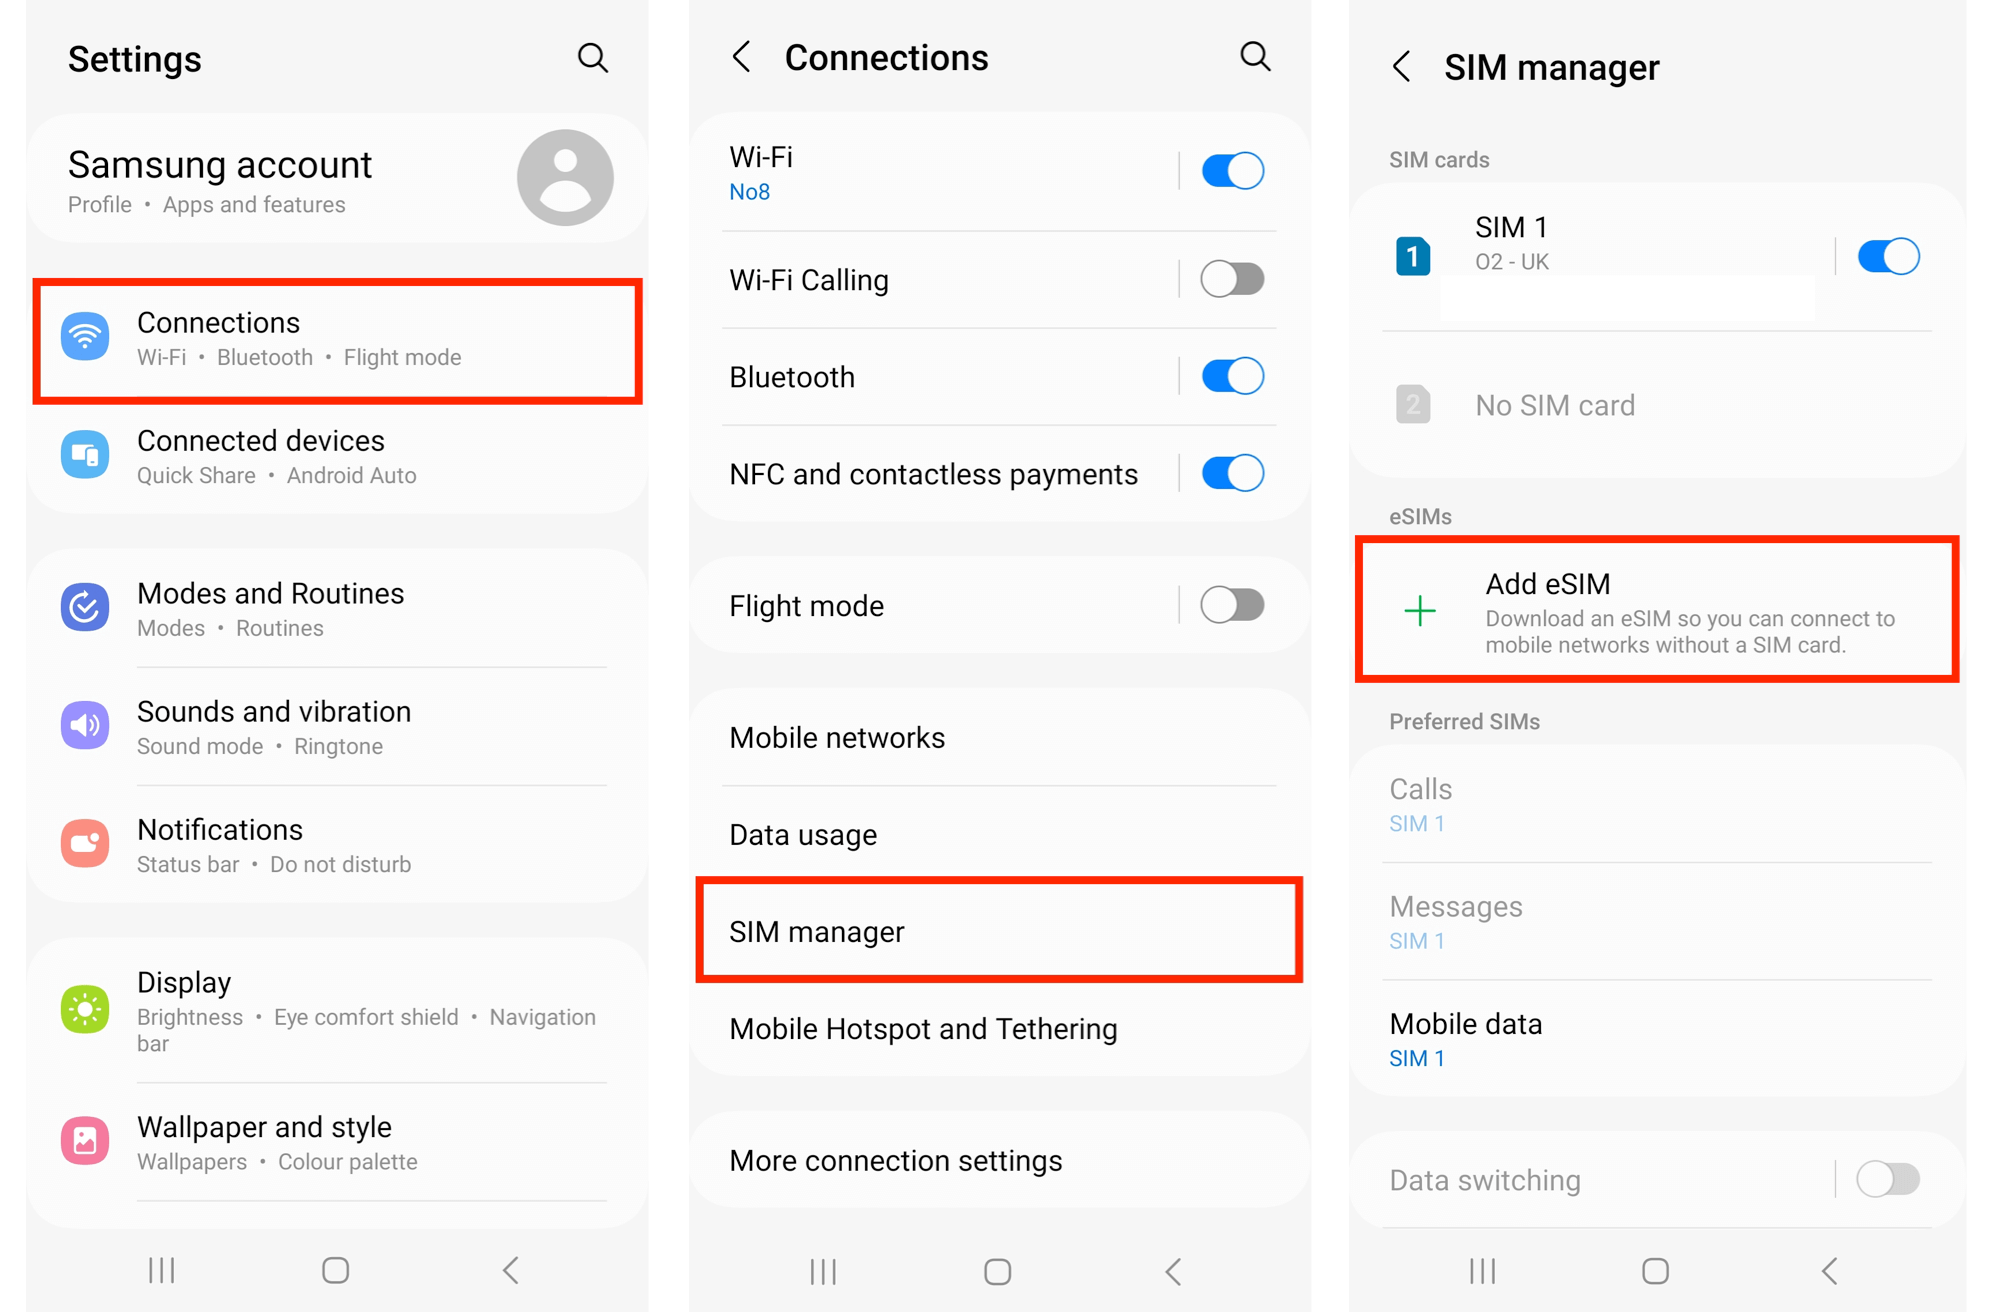
- Option 2: Go to Settings → Connections → SIM manager → Add eSIM → Tap “Scan QR code from service provider” and scan your QR code.

Step 2. Confirm and activate
When prompted, tap “Add”, wait for the eSIM to activate, then tap “Done”.
Step 3. Configure SIM and data settings
- Leave Calls and Messages set to your primary SIM.
- Under Mobile Data, select the new eSIM as your preferred data line.
Step 4. Enable Data Roaming
Go to Settings → Connections → Mobile networks → Make sure “Data roaming” is turned on.
Tip: after activation, rename your eSIM (for example, “beeSIM Data”) for easier identification.
After installation
- Restart your phone if prompted.
- Make sure Mobile Data is turned on for the new eSIM.
- Enjoy instant connectivity with beeSIM!